Installation Instructions
Idler Arm Bearings, Toyota 4WD 84-95 Pickups and 4runners
USE OF THESE INSTRUCTIONS IS AT YOUR OWN RISK
When installing this product, the installer is the final manufacturer of his or her vehicle.
Installation and use of this product is at the risk of the installer. SDORI assumes no
responsibility for any damages, to person, property, or any other sort incurred as a result of
the use, mis-use, misunderstanding, inaccuracy or incompleteness of these Instructions, taken
in whole or in part, or the products to which they may directly
or indirectly pertain. The liability of San Diego Off-Road Innovations, LLC, its affiliates,
members and employees is solely limited to the providing a product of accurate dimension. What
the buyer, installer, user, or any other person Does with product purchased from San Diego Off
Road Innovations, LLC is done at their own risk and responsibility. Furthermore, San Diego Off
Road Innovations, LLC does not guarantee the completeness or accuracy of the instructions
contained herein.
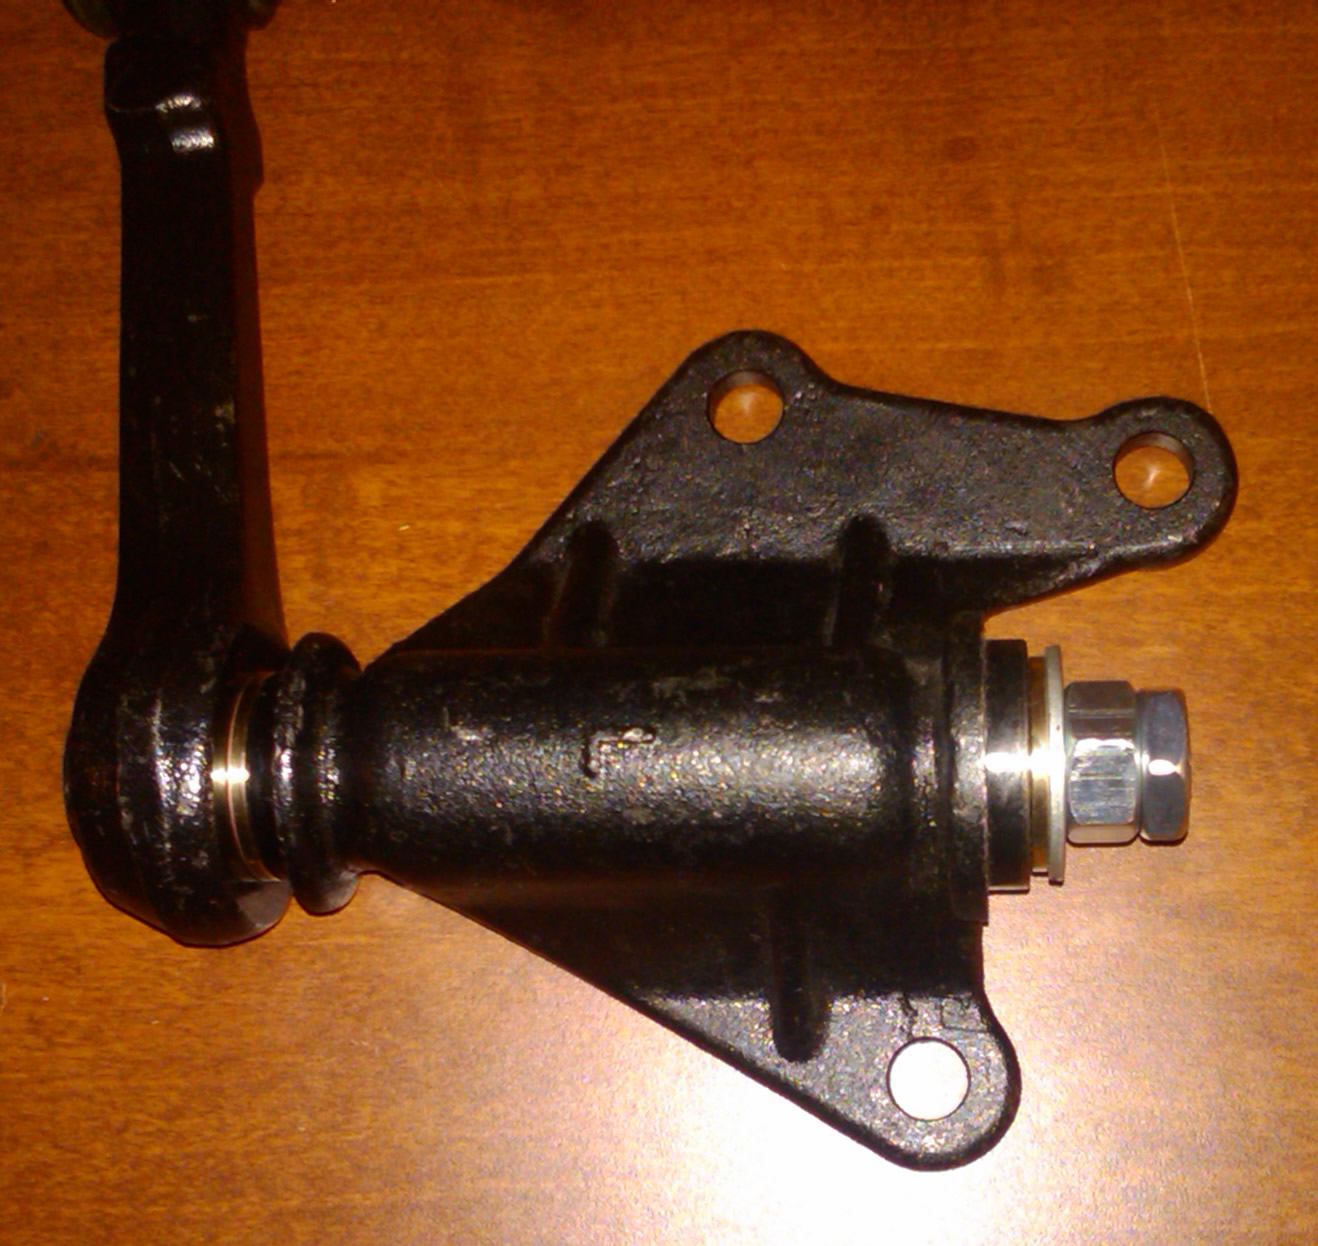
1. Parts Required
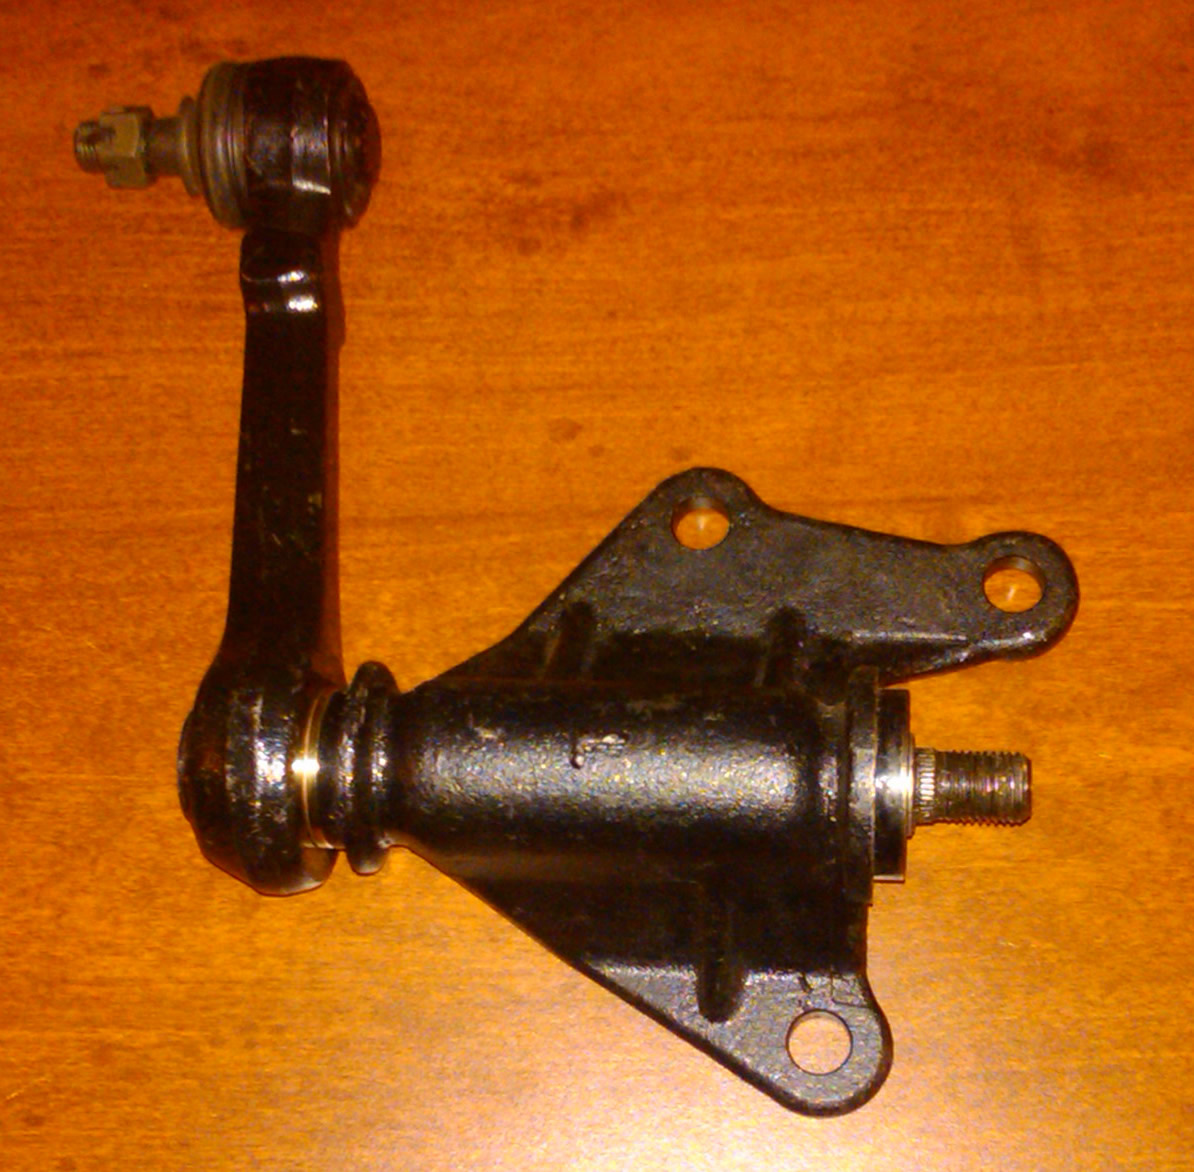
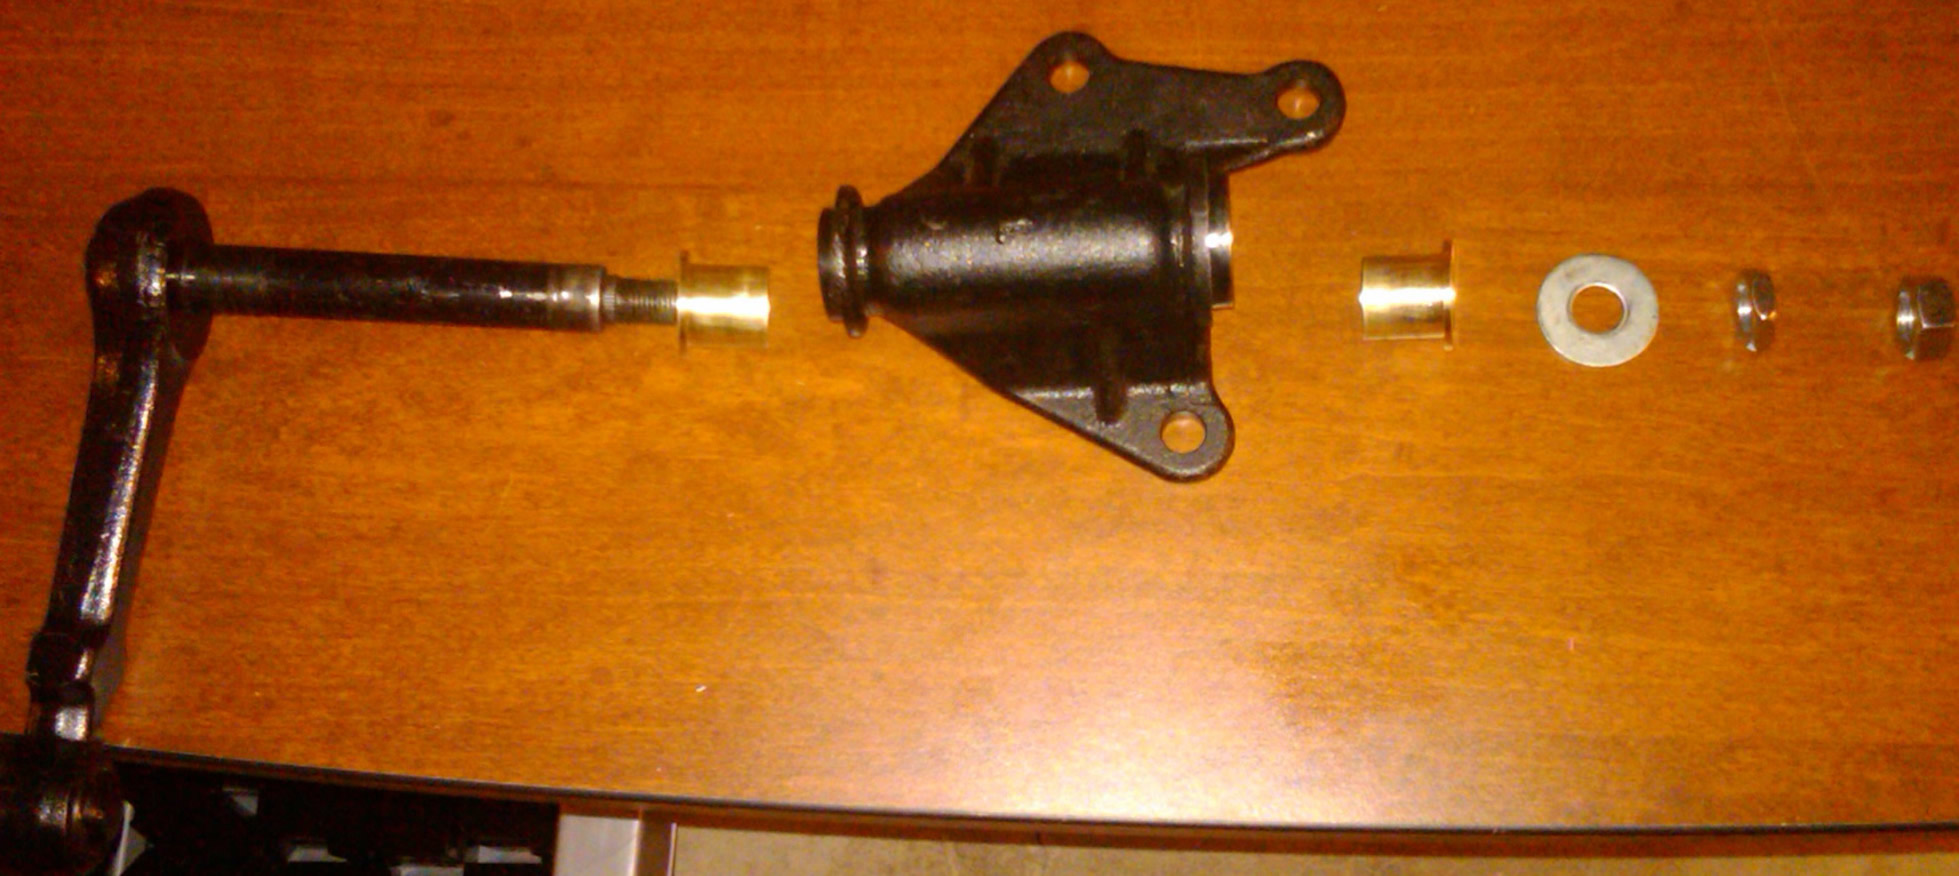
Below are the parts required for an entire idler arm assembly laid out in the order in which they are installed from left to right.
Idler Arm: (Customer) 4WD 4Runner/Pickup Idler Arm, Autozone FA5040, McQuay-Norris FA5040, Kragen/O'Reilly FA5040 only!!!!
Bearings: (SDORI) idler bearings (2)
Washer: (Customer) Original from idler arm assembly
Hex Nut: (SDORI) M14X1.5X7mm
Hex Nut: (SDORI) M14X1.5X11mm
Insatllation Notes: Grease will not harm the bearings but is not required on a regular basis. Clean the iderl shaft and housing of any debris before installing bearings. Do not hit the bearings with a hammer or similar object. If one must tap a bearing into place, use a socket with a diameter similar to that of the bearing and tap the socket gently.
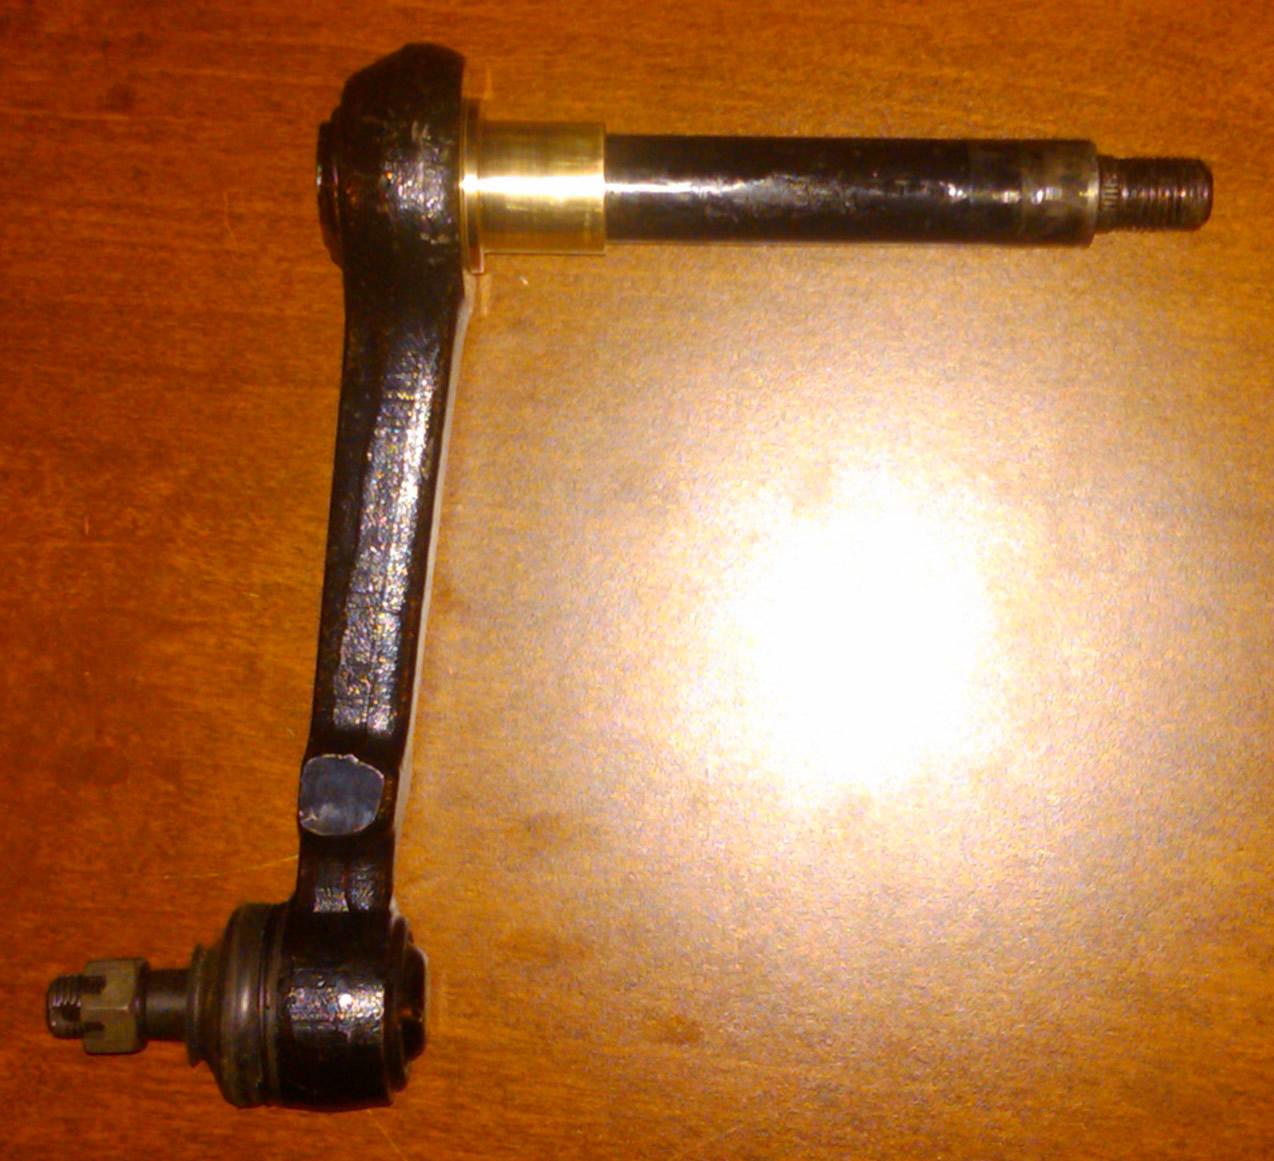
- Disassemble the existing idler arm.
- Slide one bearing over the idler shaft. It might be necessary to use the idler housing to push the bearing onto the shaft. This is fine since the next step is to install the idler housing.
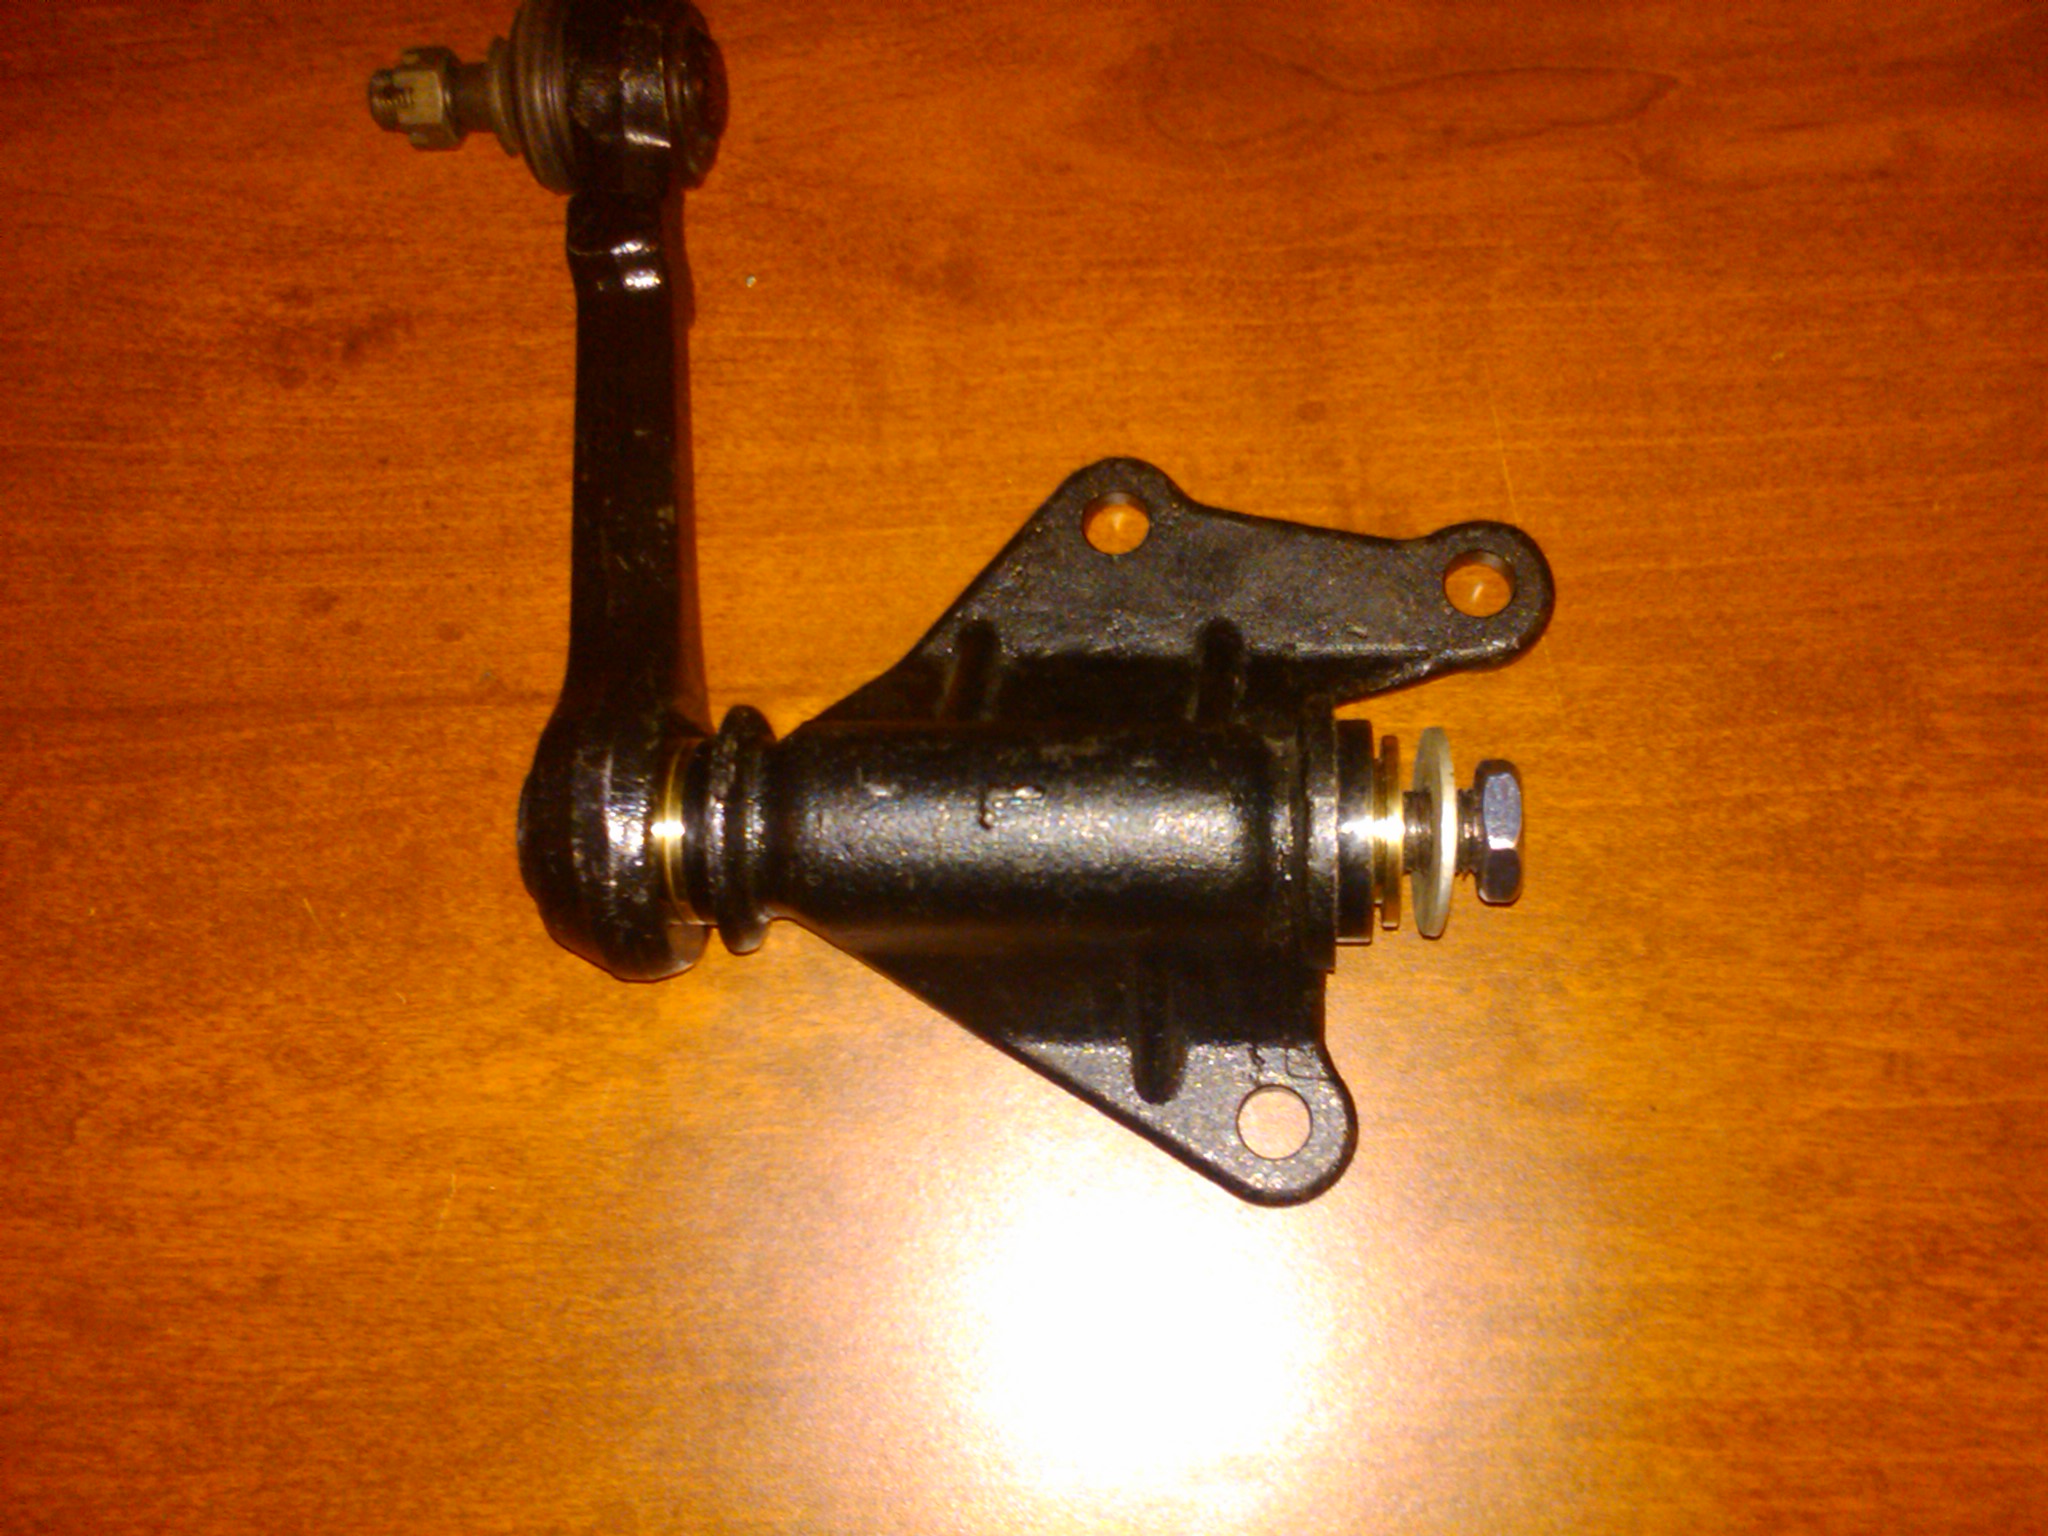
- Install the idler housing.
- Install the next bearing. It might be necessary to gently tap the bearing into position until enough threads are exposed to instal the washer and get the 7mm nut started. (the order of the hex nuts is not important)
- Use the hex nut to push the washer and bearing into position. Tighten until one can feel the drag on the shaft as one tries to rotate it increase.
- Install the second hex nut finger tight.
- The next step typically takes two or three tries to get right. Tighten the second hex nut and see that the idler can be moved by hand. It is Ok if it is difficult to move by hand, but one should be able to move it about 45 degrees. If it is too hard, it is too tight. Loosen the first nut and retighten the second. Repreat until there is more drag than if the hardware is loose but not so much one cannot move the idler arm by hand.
- Reinstall onto the vehicle.
USE OF THESE INSTRUCTIONS IS AT YOUR OWN RISK
When installing this product, the installer is the final manufacturer of his or her vehicle.
Installation and use of this product is at the risk of the installer. SDORI assumes no
responsibility for any damages, to person, property, or any other sort incurred as a result of
the use, mis-use, misunderstanding, inaccuracy or incompleteness of these Instructions, taken
in whole or in part, or the products to which they may directly
or indirectly pertain. The liability of San Diego Off-Road Innovations, LLC, its affiliates,
members and employees is solely limited to the providing a product of accurate dimension. What
the buyer, installer, user, or any other person Does with product purchased from San Diego Off
Road Innovations, LLC is done at their own risk and responsibility. Furthermore, San Diego Off
Road Innovations, LLC does not guarantee the completeness or accuracy of the instructions
contained herein.